Origami Robot is a paper based robot. When electricity flows in the SMA, a pulling force is generated and moves the robot according to the folded angle of the paper.
Video

Materials
- Coated paper (NB-Wf-3GF100)
- SMA (Bio Metal Helix)
- Wires (2 colors)
- Heat shrinkable sleeve
- MOSFET J681 2 pieces
- Solder
- Pins header
Tools
- Pen
- Arduino
- Solder
- Bread board
- Ruler
- Nipper
Directions

1Prepare the laser cutter
Send the data to the laser cutter and adjust the settings. (Height, Volume, Power for each colored line, etc.)download : origami_cutting_pattern
Setting for Manual Control
– Black : Power 15.0%, Speed 100%, PPI 67, Z-Axis Off, Laser Both
– Red : Power 5.0%, Speed 92%, PPI 500, Z-Axis Off, Laser Both
– Green : Power 36.8%, Speed 61%, PPI 267, Z-Axis Off, Laser Both
– Yellow : Power 16.4%, Speed 100%, PPI 500, Z-Axis Off, Laser Both
– Blue : Power 8.5%, Speed 40%, PPI 500, Z-Axis Off, Laser Both


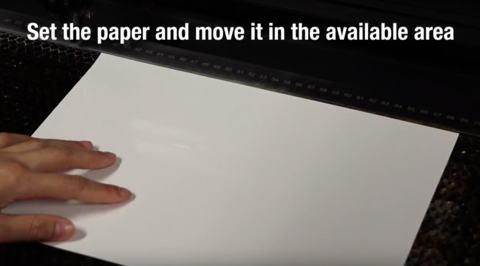
2Set the paper
Set the paper and move it in the available area.
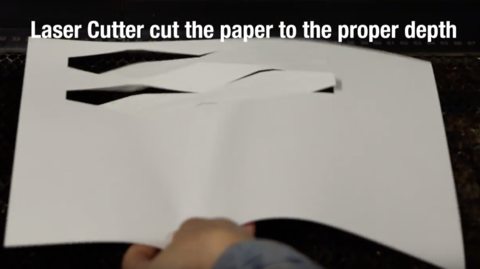
3Laser cut the paper
The laser cutter will cut the paper in the proper depth based on the settings.
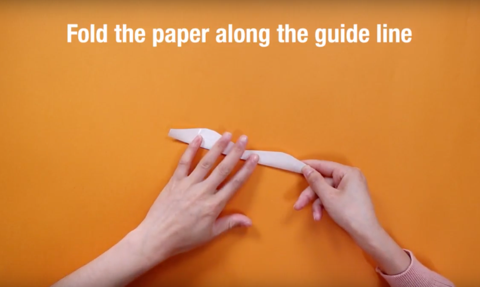
4Fold the robot
Fold the paper along the guide lines.
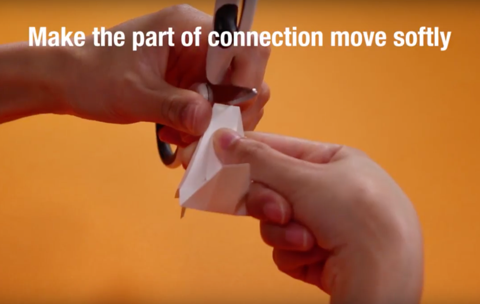
5Check the movement
Make the fold in the middle of the robot move softer by gently scraping it with a scissor blade.
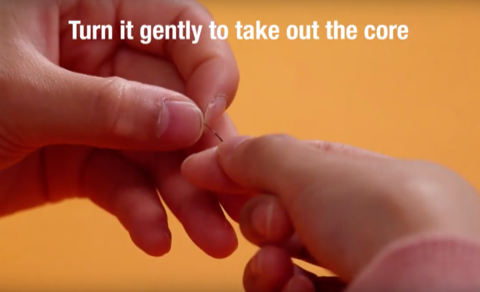
6Prepare the SMAs
Cut 2 SMAs in the length of 10mm. The SMA is usually wrapped around a cable. Gently separate the SMA form the cable by turning it gently to take out the cable. Throw the cable away, the remaining part is the SMA.
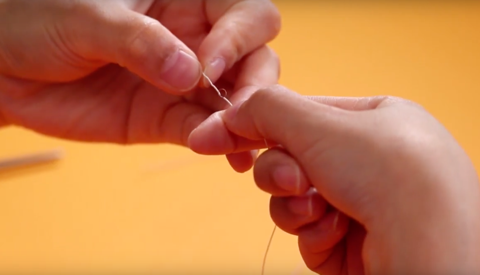
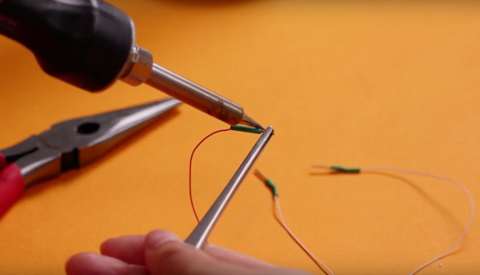
7Wire the SMAs and pins
Cut 4 wires in the length of 45cm. Make one knot at each end of the wire. Gently pull the SMA to stretch out the ends of the wire. Insert the edge of a SMA to the wire’s knot. Tie the knot with SMA in between.
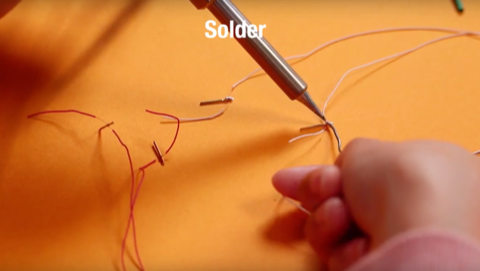
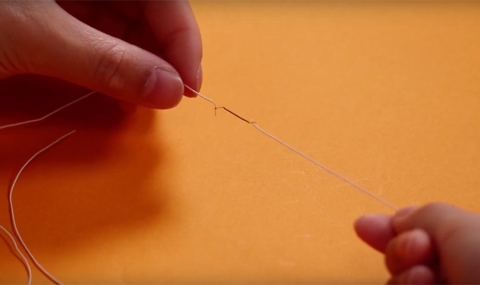
9Soldering
Make a knot at the other end of each wire. Tie the wire to the pin and solder them together.
10Sleeving
Cover it with the heat shrinkable sleeve.
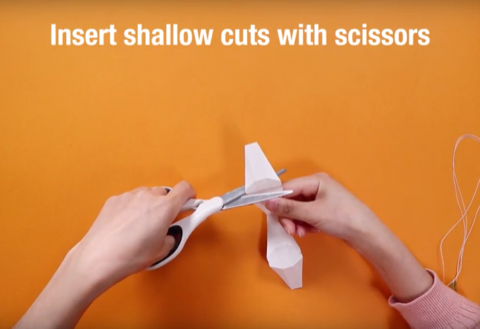
11Marking center
Mark the center of the paper with a pen. Cut shallow slits with scissors.
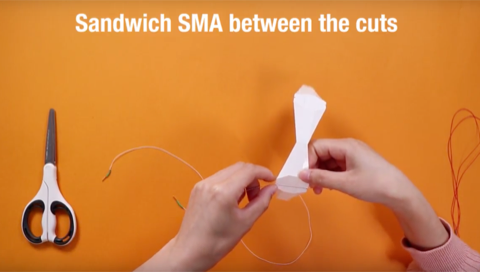
12Attach the SMAs
Pass the SMA through the slits.
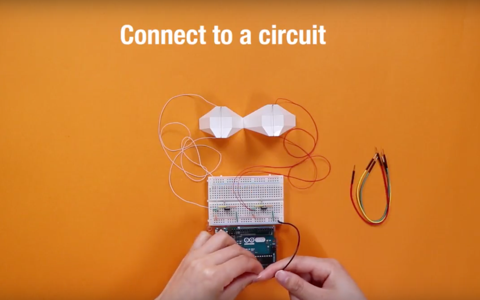
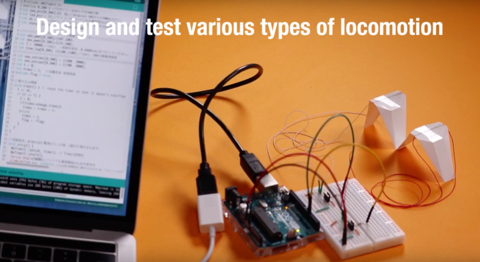
13Circuit
Connect the SMAs to a circuit. Make your own designs and test various types of locomotion.

14Arduino Control
You can design the movement of Origami Robot by controlling SMA with Arduino.
More Information
- Instructor in video : Lee Dongchi
- Paper : D. Lee, K. Saito, T. Umedachi, T. D. Ta, and Y. Kawahara, “Demo: Origami Robots with Flexible Printed Circuit Sheets,” Adjunct Proc. of ACM UbiComp 2018, pp. 392-395, Singapore, Oct. 2018.