SMA (Shape Memory Alloy)

SMA changes its length when electric current is applied. This video explains how to make a SMA muscle.

Video

Preparation: 0 min
Process time: 30 min

Materials

Tools and Equipments

  • Crimp terminal
  • Tape measure
  • Nipper
  • Pliers
  • Tweezers
  • Soldering iron


Directions

Cutting

Cut the two pieces of wire in the length of 50cm. Also cut the SMA in the length of 2cm.

Separate the SMA

The SMA is usually wrapped around a cable. Gently separate the SMA form the cable.

Tie

Tie the wire to the SMA.

Tighten

Pass the crimp terminal over the tied wire and press it strongly with pliers

Tie the other side

Repeat the same process.


Both sides are done

The SMA cable is connected to the wires.

Connect the pins

In order to make it easier to handle, we will connect pins. Tie the wire to a pin.

Soldering

Solder them together.

Coat

Cover it with a heat shrinkable sleeve.

Done

Connect another pin to the other end of the SMA’s wire.

Check

Briefly connect power. The SMA will shrink when electricity is applied.


Other recipes

  • Application : Caterpillar Robot
  • more recipes using SMA : Origami Robot (coming soon!)

More Informations

Introduction to Soft Robotics: first year of soft robots

0

Dawn of a new era in robotics

Soft robots form a relatively new domain of research in robotics.

The word “soft” refers to the physical property of “softness,” and must not be confused with computer “software.” Research in soft robots represents an attempt to soften hardware in robotic systems.

The reason behind using the phrase “soft robotics” is that conventional robots are classified as being hard. Typical hard robots are employed in industries. Approximately 1.6 million or more hard robots are in operation throughout the world.

Hard robots find wide applications in factories for automobiles and electrical products; however, there still remains a lot of work that has to be performed by human workers. For example, it is difficult for conventional robots to perform tasks, such as filling lunchboxes, prune trees, or play with children. There exists a variety of such tasks, which hard robots cannot accomplish.

Robotics researchers have started embarking on studies of the probable future robots. Soft robot is a future form of robots.

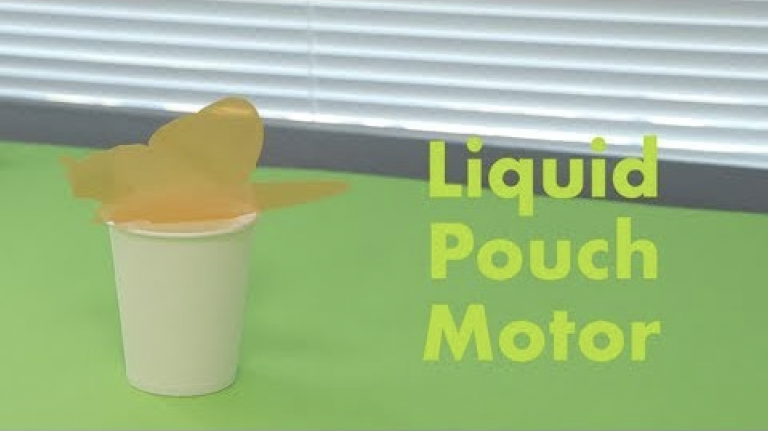
Liquid Pouch Motor

Liquid pouch motor is a soft actuator made with a pouch that inflates when the liquid inside vaporizes.

Video

Preparation time: 10 min
Process time: 40 min

Materials

  • Nylon-LDPE film (or Alminium-Nylon-LDPE film)
  • Solvent liquid (3M Novec 7000)
  • Syringe and needle
  • Double-sided tape
  • Cups
  • Acrylic sheet (In this recipe, we used PP which is the same material as an A4 clear file. Cut it into the shape of something you want to move, for example a butterfly)

Tools and Equipments

  • Heat sealer (NL-202J)
  • Scissors
  • Electric kettle (optional, for boiling water)


Directions

Cutting

Cut the nylon film to make the pouch. Its size should fit the height of the acrylic sheet. In this case, fit the height of the butterfly’s body.

Sealing

Set the sealer’s temperature to 2.5. Seal 3 sides of the film to create a pouch. Cut off the excess film.

Insert Novec

Pour some Novec into a cup and draw it into a syringe. Inject a small amount of Novec into the pouch (at least 20μL).

Sealing

Carefully hold the pouch so that the liquid does not spill, and seal the last side of the pouch.

Inflate

Boil some water with the electronic pot and pour it into a cup. When the the pouch is inserted into the hot water, it inflates! (50℃ will be enough because the boiling point of Novec is 34℃.)

Decorate

For the acrylic sheet, cut out the part where the pouch will be attached. In this case, the middle part of the butterfly. Attach the butterfly wings to the pouch with double-sided tape.

Actuate – Flapping

Boil some water again, pour it into a cup and place the butterfly on top. You can see the butterfly flap. Hold it up and cool it down to let the wings return to its initial state.


Downloadable Data

  • Design of acrylic sheet : Butterfly (pdf)

More Informations

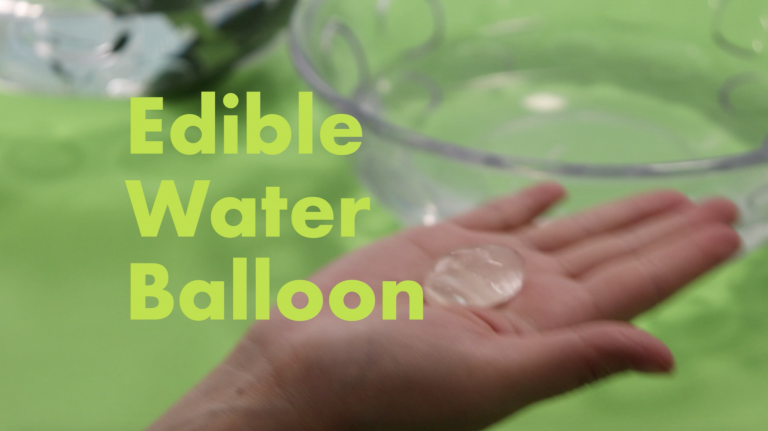
Edible Water Balloon

0

Let’s make an edible water balloon!

Video

Preparation time: 10 min
Process time: 60 min

Materials

  • Calcium lactate
  • Sodium alginate
  • Bottle
  • Juice (Anything you want to mix. In this case, Mango Juice)

Tools and Equipments

  • Bowl
  • Measuring Cup
  • Ladle
  • Whisk
  • Spoon

Directions

Mix


Let’s make the solution first. Mix 250ml of water with 1.3g of sodium alginate.

Shake


Pour the solution in the bootle and shake it for about 10 minutes. Shake until all of the clumps of powder dissolve.

Make another solution


Mix 1L of water and 1.3g of calcium lactate. Stir well until it looks transparent.

Ready for “Cooking”

Prepare a bowl of water and the two solutions that we made.

Drop into water


Pour sodium alginate solution into the spoon and submerge it into the calcium lactate solution. Stir gently. Scoop out the water balloon and drop it into the bowl of water.

Done!


Make together, and enjoy the competition to run fast!

Make colorful water balloons

Use mango juice instead of water. Mix 250ml of juice and 1.3g of sodium alginate. Shake it for 10 minutes and repeat the steps that follow.

Making small spheres

You can make small spheres by using a straw.


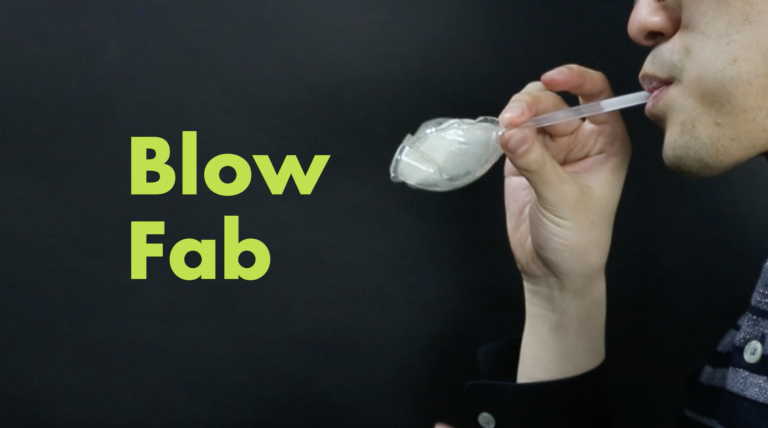
BlowFab

BlowFab are rigid and reusable objects that are easy to make using inflation of plastic sheets. You can make a balloon by simply using masking tape and two plastic sheets that become soft and adhere when heated. The inner area of one plastic sheet is covered with masking tape to prevent the sheets from sticking. The outer edges without the tape will fuse by pressing the sheets together on a hot plate. The sheets become soft when heated and become hard when cooled down. Warm it up and inflate it to make your favorite shapes!

Video

Preparation time: 10min
Process time: 45 min

Materials

  • Plastic sheet (PET (polyethylene terephthalate) sheet of 0.5~1.0mm thickness, PVC can also be used. However DO NOT cut PVC with a laser cutter since it will produce chlorine gas. Use a cutter instead.)
  • Cutting pattern printed on paper (pdf : blowfab)
  • Masking tape (0.083mm thickness)
  • Double-sided tape

Tools and Equipments

  • Hot plate
  • Scissors
  • Cutter
  • Heat resistant gloves
  • Spatula
  • Straw


Directions

Mask

Mask the plastic sheet with masking tape.

Tape

Tape the masked plastic sheet on to the pattern paper with double-sided tape. (Download the pattern data at the bottom of this site). The masked side should be facing up.

Cut the masking tape

Cut the masking tape along the inner red line of the pattern paper with a cutter.

Cut the plastic sheet

Cut the plastic sheet along the outer black line of the pattern paper with scissors.

Remove paper and tape

Peel off the pattern paper and the masking tape at the edge of the plastic sheet. Leave the masking tape in the middle area.

Make another plastic sheet

Tape another plastic sheet without masking tape on to the pattern paper. Cut the plastic sheet along the outer line of the pattern paper.

Ready for heating

Mask the hot plate with masking tape. (Without it, the plastic sheet may stick when warming it up.) Heat up to 180℃.

Heat

Now, it is heating time. Wear the heat resistant gloves. Stack the sheets together with the masked side facing inward and insert a straw between the sheets. Heat the sheets while pressing them with a spatula. Flip it over and warm both sides.

Inflate

Blow air through the straw and inflate the balloon!

Cool down

It will harden when it cools down.

Reuse

Reheat it on the hot plate. It will become flat again.

Enjoy!

By changing the patterns, you can make various shapes!


Downloadable Data

More Informations


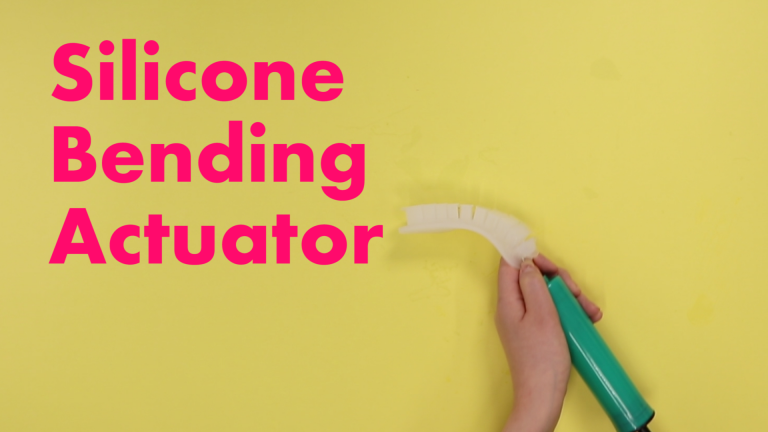
Silicone Bending Actuator

Let’s make a silicone actuator that bends with air! We will make the mold for casting the silicone with a 3D printer.

Video

Preparation time: 50 min
Process time: 60 min

Materials

Tools and Equipments

  • 3D Printer
  • Kitchen scale

Directions

Design Molds

Design the bending actuator’s mold with 3D CAD software. Save as an STL data.
Download file here : Silicone_Bending_Actuator_STLdata

3D Printing

Print it with a 3D printer. There are 3 molds to make the bending actuator.

Mix

Measure equal amounts of Ecoflex 00-30 part A 40g and part B 40g. Slowly mix the silicone with a mixing stick for 1 minute. Avoid brisk mixing movements to prevent from making bubbles. Mix well while scraping the silicone from bottom and side of the cup.

Please check the details about casting here.

Cast

Pour the silicone into the molds. Wipe off the overflowed silicon with a paper towel. Leave the silicon rubber for 10 minutes for degassing. For simple molds, vacuum pumps are not necessary because Ecoflex’s viscosity is not that high.

Wait more than 4 hours. Take the silicone out of the molds.

Mix again

Repeat the “Mix” step. In this time, we measured equal amounts of Ecoflex 00-30 part A 12g and part B 12g.

Attach

Attach the two parts of silicone. Wait more than 4 hours.

Inflate

Inflate it with a air pump.


Downloadable Data

Other Recipes

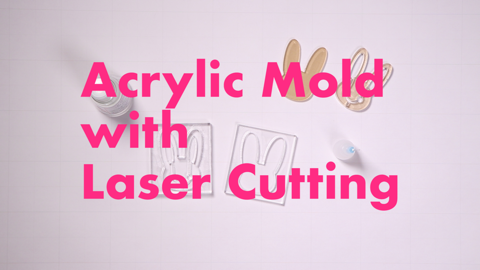
Acrylic Mold with Laser Cutter

Basic tutorial for making acrylic molds with a laser cutter.

Video

Preparation time: 30 min
Process time: 1 hr

Materials

  • Acrylic sheet (thickness 2mm, 4mm, 5mm)
  • Acrylic glue
  • bottle
  • needle

Tools and Equipments

  • Laser Cutter


Directions

Design Mold

Design a mold using software. In this case, we used adobe Ai and saved as PDF.
Download file here (t means thickness of acrylic sheet) : 20171110_rabbit

Laser Cutting

Insert acrylic sheet. Fit the sheet to upper left. Move the file to Laser Cutter and set Laser preferences. Cut the acrylic sheet with the laser cutter. Take out the acrylic sheets. Cut another thickness of acrylic sheet.

Prepare Bonding

Here are acrylic sheets cut with Laser Cutter. We will make 2 sets of molds. (Set 1 : A+C+E+F, Set 2 : B+D)

Acrylic Glue

Transfer some acrylic glue to the applicator bottle.

Set 1 (part E + C)

Put part E and part C. Align the position of acrylic part.

Glue

Fit the together tight. Use the needle to put the glue into the gap between the acrylic sheets. Hold it tightly for a few seconds. Add more glue if it looks not enough.

Set 1 (part E + C + A)

Put part C and E on part A. Align the position of acrylic part. Put the glue into the gap.

Set 1 (part E + C + A + F)

Add an inner part F to allow air flow. Put part F on part E+C+A.

Set 2 (part D + B)

Put part D on part B.

Glue

Put the glue into the gap.

Done

The molds are done!


Download

Other recipes

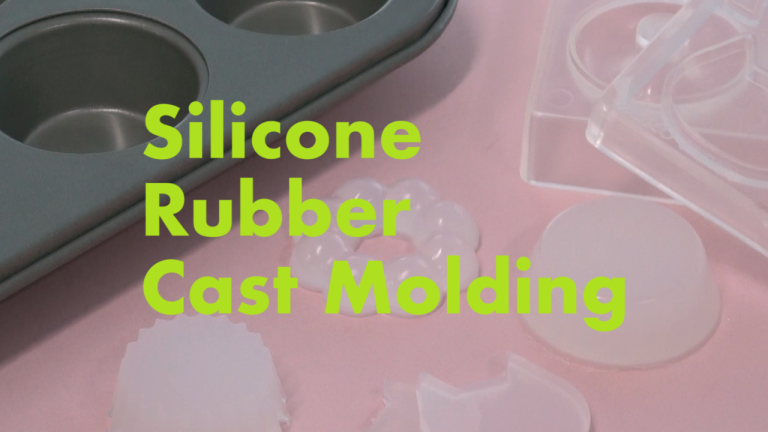
Silicone Rubber Cast Molding

Very basic tutorial for mixing, casting, and curing silicone rubber in molds. This technique is a starting point for silicone-based soft robotics.

Video

Preparation time: 20 min
Process time: 1 hr

Materials

Tools and Equipments

  • Non-silicone molds
  • Kitchen scale
  • Oven (optional)

Directions

Scale Molds

First, let’s see how much silicone rubber is needed for the mold. Pour water into the molds instead of silicone rubber. Gather the water into a cup and weigh it. This value is about the same amount of silicone rubber necessary to fill the molds. When measuring the silicon rubber, we will add an extra 10-20% to this amount.

Measure

Pour Ecoflex part A into a cup. It should be half of the required amount of silicon rubber. Pour the exact same amount of Ecoflex part B into the same cup. If you have poured more than the required amount of part B, then add more part A so that they are the equal amount.

Mix

Slowly mix the silicone with a mixing stick for 1 minute. Avoid brisk mixing movements to prevent from making bubbles. Mix well while scraping the silicone from bottom and side of the cup.

Cast

The molds should be made of non-silicone material such as PP (polypropylene), PE (polyethylene), and PET (polyethylene terephthalate), otherwise the silicone mold will fuse with the casted silicone. Pour the silicone into the molds. Wipe off the overflowed silicon with a paper towel.

Rest and degas

Leave the silicon rubber for 10 minutes for degassing. For simple molds, vacuum pumps are not necessary because Ecoflex’s viscosity is not that high.

Bake

Bake in an oven at 60°C (140°F) for 20 minutes to accelerate curing. If you don’t have a oven, just wait for 4 hours at room temperature.

Demold

Take out the silicone rubber from molds. Cut off the excess silicon on the edges with scissors.
 

Bon Appétit! (but don’t eat)


Other recipes